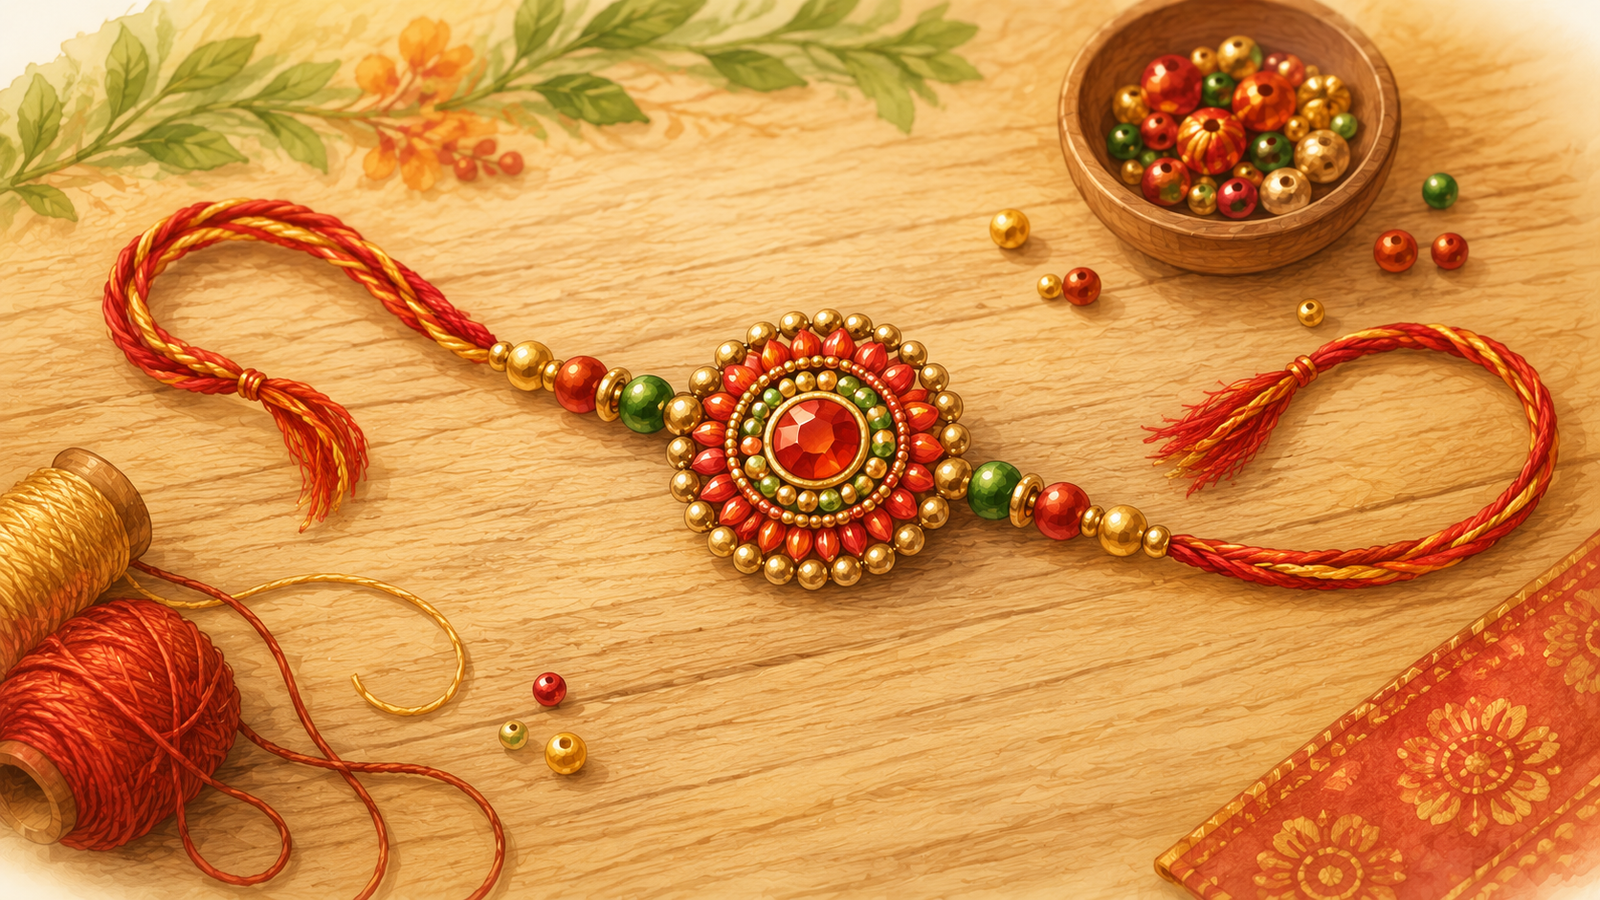
A rakhi is more special when it’s made with your own hands. Let’s design a simple, colourful rakhi perfect for tying on Raksha Bandhan!
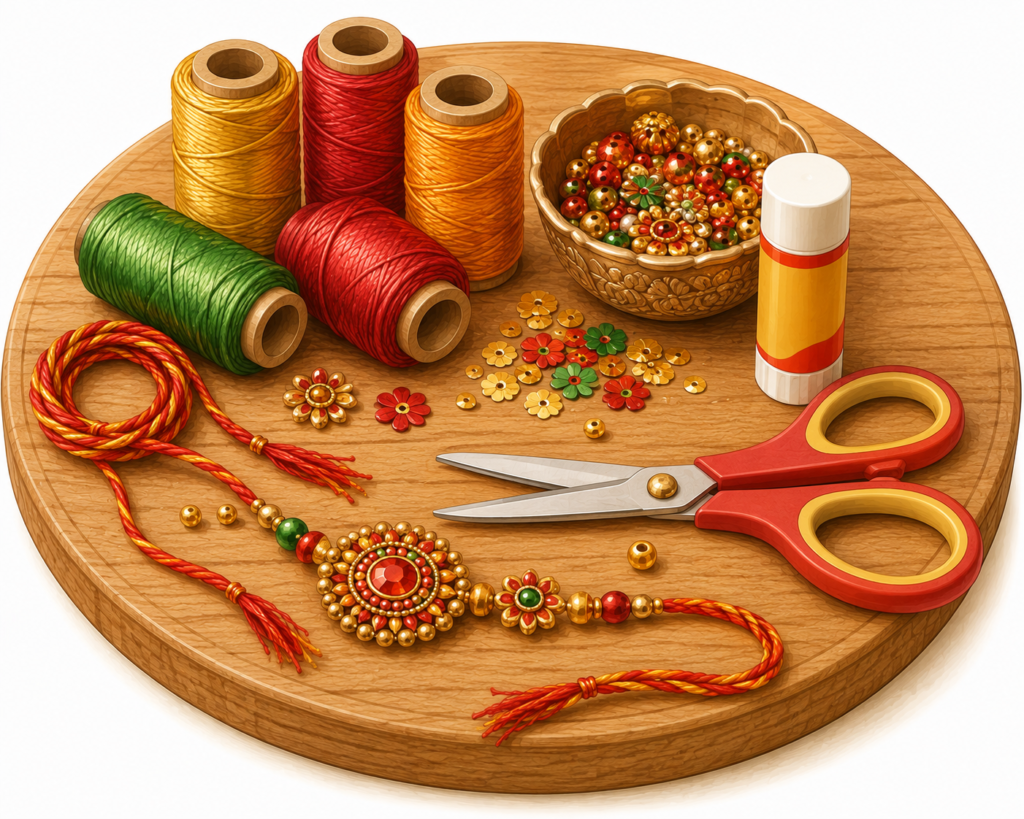
What You’ll Need
- Colourful thread or embroidery floss
- Beads, small pom-poms, or sequins
- Glue
- A small piece of cardboard (optional, for a sturdier base)
- Scissors (child-safe)
Steps
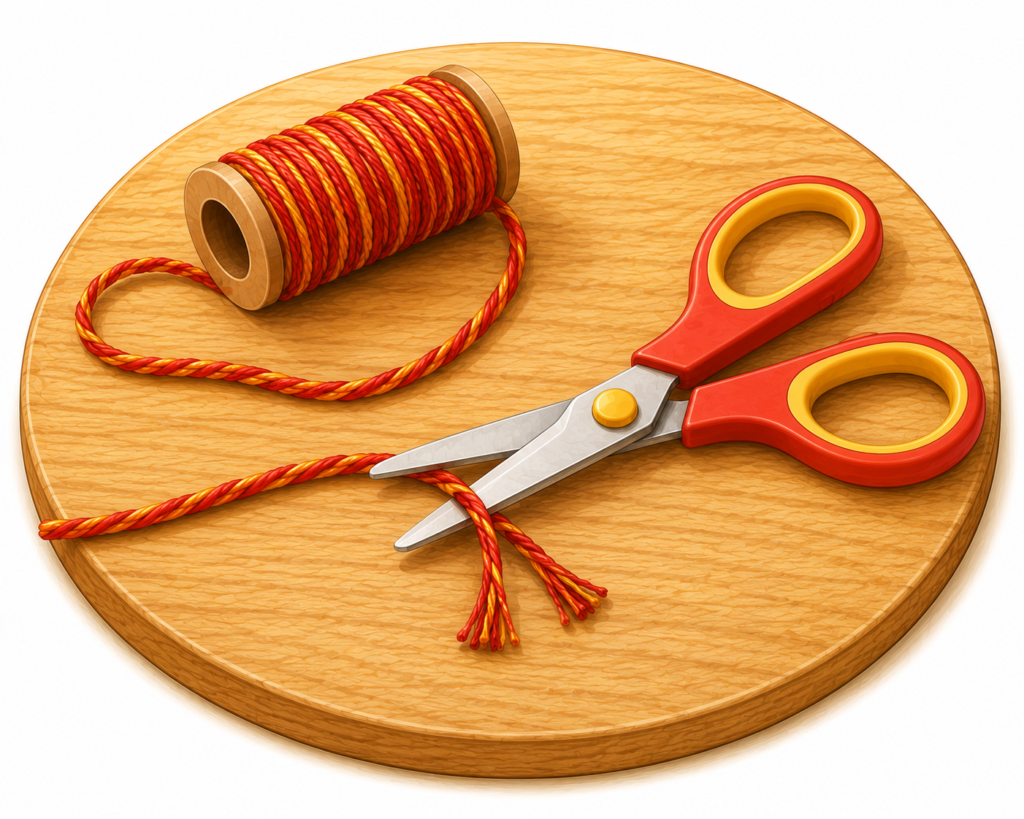
Step 1: Cut a length of thread, long enough to comfortably tie around a wrist, with a little extra for knotting.
Step 2: Choose your centerpiece. Pick a bead, small pom-pom, or a few sequins to be the star of your rakhi.
Step 3: Decorate your centerpiece. If using cardboard, cut a small circle or flower shape first, then glue your beads or sequins onto it.
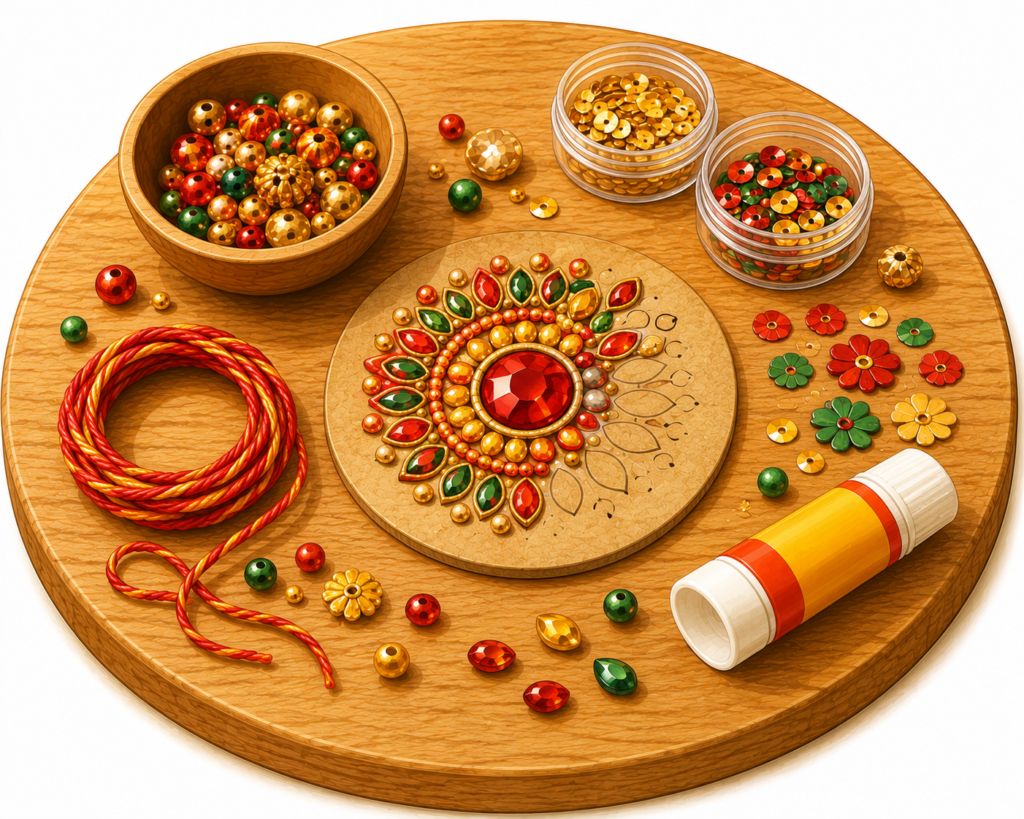
Step 4: Attach it to the thread. Glue your decorated centerpiece onto the middle of your thread.
Step 5: Let it dry completely before tying, so nothing comes loose.
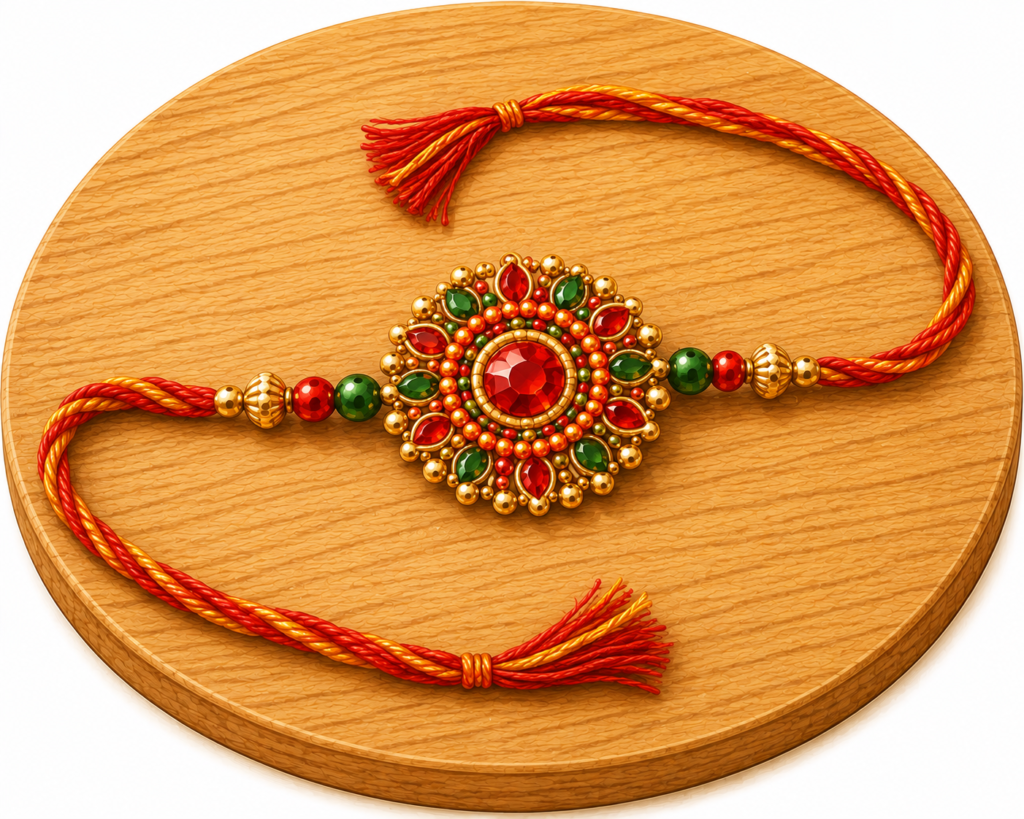
Step 6: Tie it on! Your handmade rakhi is ready to tie on someone special, with a promise of your own.
💡 What colours would you choose for a rakhi made especially for someone you love?
Did You Know?
- Traditional rakhis are sometimes made with silk thread, believed to be more auspicious than other materials.
- In some families, rakhis are tied not just on brothers, but on cousins, close friends, and even trees or rivers, as a way of honouring anything that protects or nurtures us.
- Handmade rakhis, just like the one you made, are becoming more popular again – many people believe a rakhi made with love means even more than a store-bought one.